Travelling can be expensive and time consuming. So if with one solution you can ease both, that is a good deal right. The answer is; travelling only with hand luggage…

Travelling with just hand luggage, Awesome idea; but how?!
Forget the extra costs of checked baggage. The wait at the baggage claim is no more for you. You carry your own bag, so it won’t get lost for sure. Sounds like heaven right, well it is. But you have to work for this to make it happen. Because yes the size of your baggage will decrease drastic and there are rules on what you can and cannot carry on board. So here is the article based on my experience to help you make this happen.
Step 1: check regulations
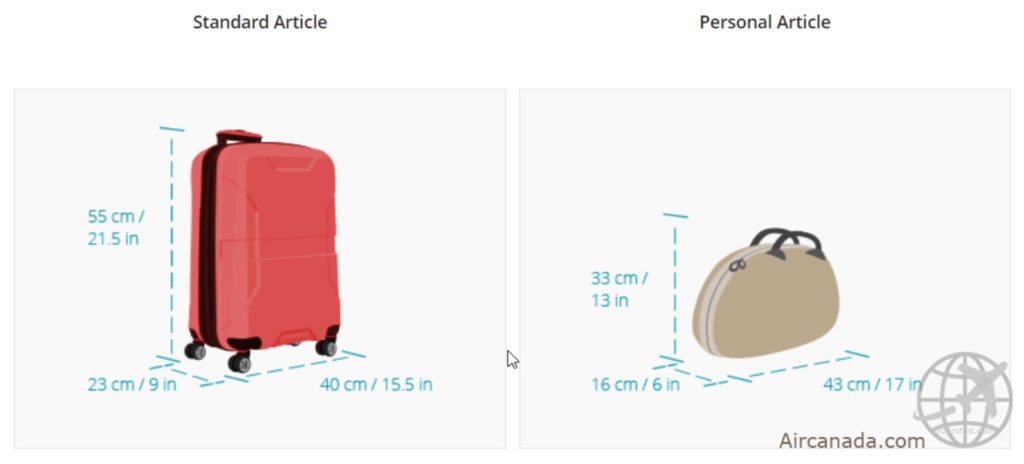
Every airline has their own regulations when it comes to size and weight of the carry on luggge. So check with the airline what the allowance is for your ticket. Sometimes it is just a size restriction and sometimes also weight might be limited. And if you are lucky you are flying with an airline that allowes you to have a smaller handbag or laptop next to your carry on bag. If they do, use this!

Step 2: find the right bag
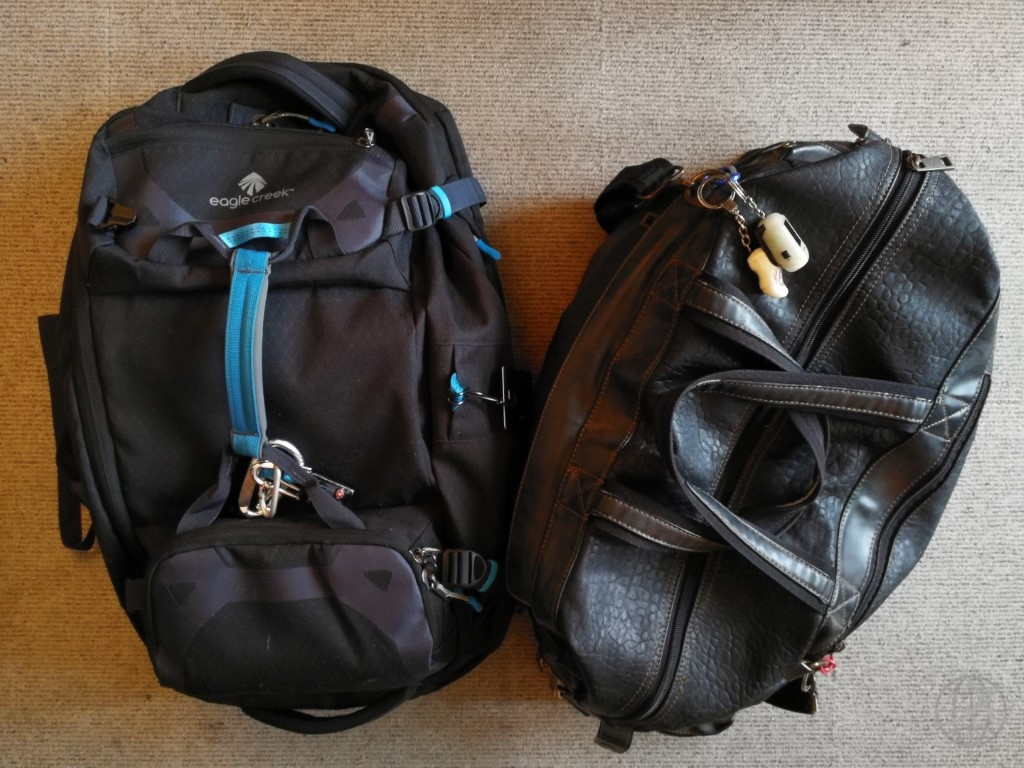
So now you know the maximum measurements, so lets find a bag to fill those to the max! The ideal bag has the exact outer measurements and is light weight. The weight might sometimes not be important to the airline, but since you have to carry the bag around it still is. And there is de debate between bag and trolley. Yes a trolley can be pulled around so saves you some tired arms or shoulder pains. But they are heavier and since you have to counter their wheels into the measurement, provide less packing space than bags do. On top of that, quite a few airlines make you still check-in your carry-on baggage if the flight is full. Simply because they have no space for all the carry on luggage. It will not cost you anything, but you still have to go to the baggage claim. In my experience the stewards at the gate will only take hard shell trolleys as to minimize the probability of damage. So it is up to you, but we prefer well designed bags. I love my bags, maximum loading capacity, nice looks and comfortable to carry around.
Step 3: Find out what you need
Nope and combination are the magic words my friends! For every item you want to pack you have to ask the tough question ‘Do I really need this?’ Most of the time – if you are really honost, you have to answer with nope and put it back in the closet. Have a good idea about what you are going to do on your trip. Just a city trip, active sports, swimming involved, night out, formal wear? With this in mind put out what you need for these activities. Next step, see if you can use combinations more often – are there items you can use for multiple purposes. A zipper pants can be used for hiking and walking around in town. A sleeveless shirt can act as a night out shirt with a jacket. A simple dress by day, but with a bolero and accesoirs perfect for a formal night out, etc. If you can check if there is a cheap option at your location to do laundry than you can save extra room since you can wear clothes more often. Another important pack what you need; liquids! Take what you need in travel size containers and share if possible (one toothpaste is enough for example). I never have more liquids than the maximum 1l bag allowed at airports per person.

Step 4: Packing it all up
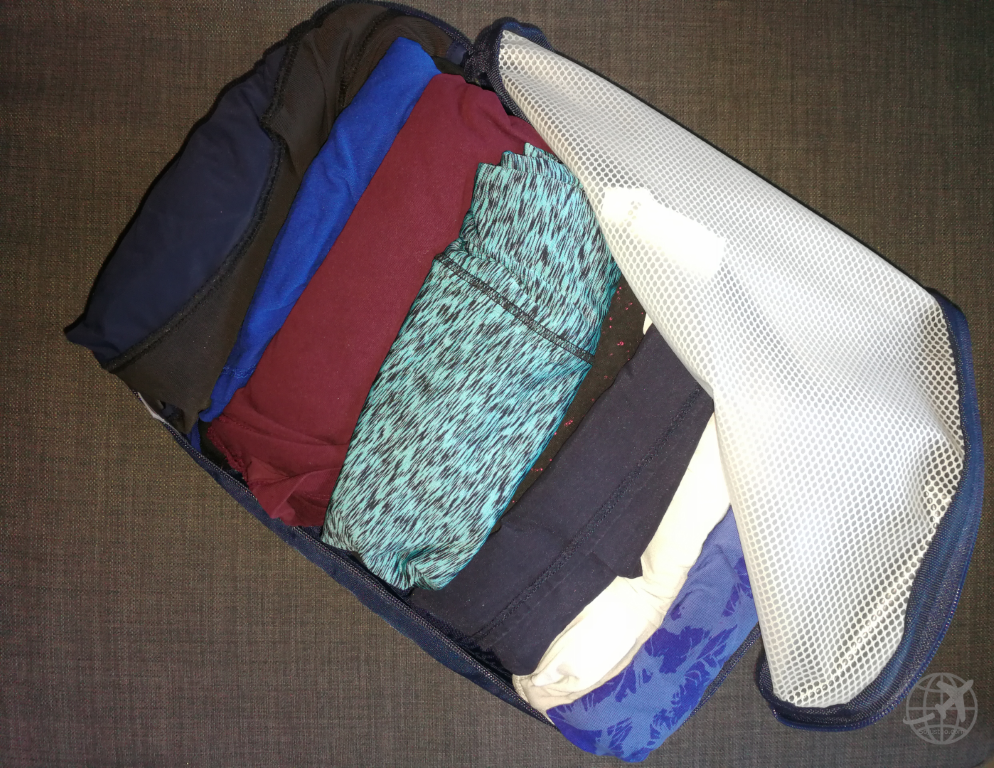
Rock and Roll baby! Roll up everything if possible. I use packing cubes to put our clothes roles in, nice and tight. Furthermore you want to protect your items while travelling, but the package material also takes up space. So plastic bags do a large part of the trick for this. Wear those big hiking boots, fluffy sweater and warm jacket when you check-in at the airport. Once in the plane you can stuck them in the overhead compartment while having saved loads of space in your luggage. So now you know our secrets to handluggage travel. I love to see how you do it – show me the content of your handluggage for a long weekend travel in the comments below!


